I had been collecting denim over the past couple of years to create my own design of denim purses.
And like most hobbies, one day you suddenly realize that you've collected more than you can use...
And so it seemed like a tablecloth was a great way to use excess supply of denim.
And so I started my tablecloth with a vague notion of large pieces of denim that I could piece together. Next thing I knew, I was imagining a tablecloth made of patchwork denim "quilt" blocks. I can't say where that idea came from except from my long lineage of quilters including my grandma, mom and sisters.
Here's a quick review of the steps in making this patchwork denim tablecloth:
1. I created a 6 inch square block out of cardboard and used this to trace on different pieces of denim jeans. I also created a 6 inch by 12 inch card board block, and traced this on the denim to add some interest to the tablecloth.
 |
| Supplies: Denim, scissors, ruler and cardboard |
2. I cut out so many denim blocks that my hand ached for days. Glad for a good scissors, I wished I had a rotary cutter instead.
3. I didn't want a long tablecloth that would be in my lap while I was eating, so I tentatively planned on a 54 inch diameter tablecloth. Basically this would cover the 48 inch table and hang down a couple of inches on the sides.
4. I pinned the blocks together in rows, and laid these out on the table until I thought I had enough rows. I alternated light and dark denim wherever possible to give it a patchwork appearance.
 |
| Always good to have a good helper like Blue Belle! |
5. To prevent fraying of the denim, I used a zig zag stitch on the edge of each block of fabric. This is a very tedious step, and believe me when I say I used up two spools of thread on this project.
 |
| Zig Zag stitches |
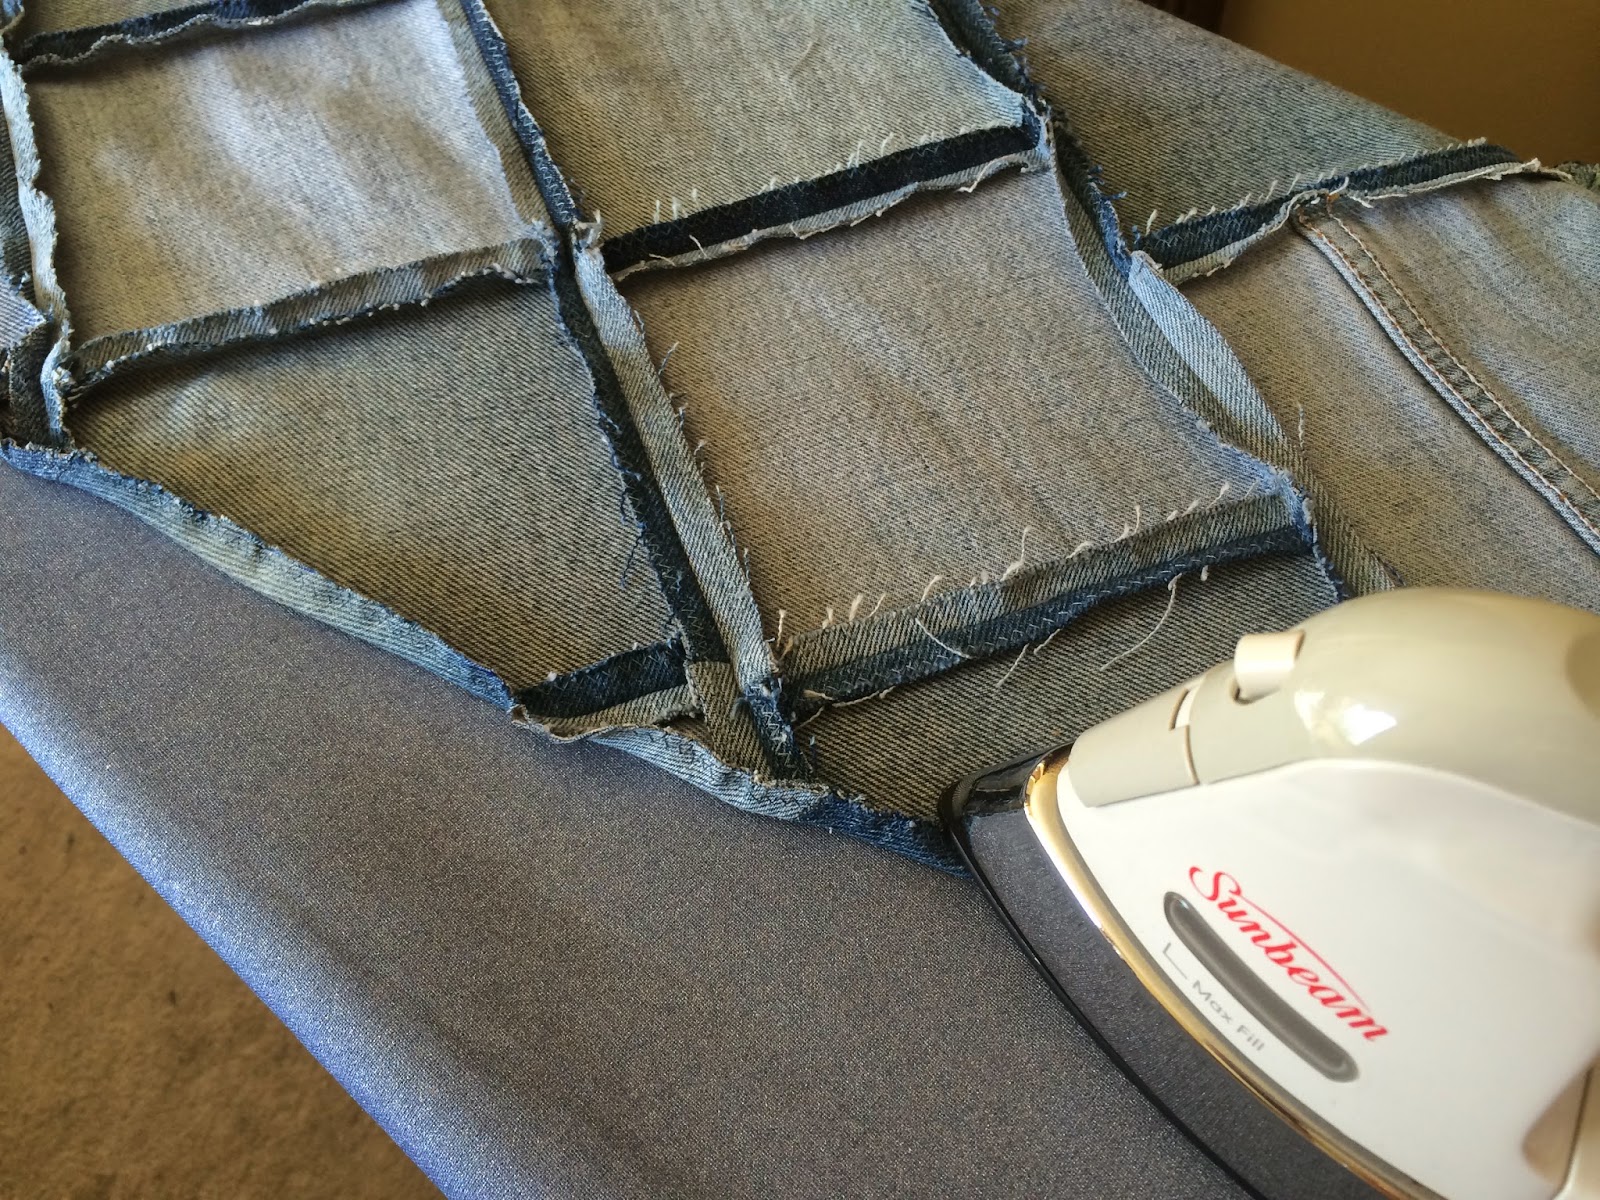
6. I stitched the fabric blocks by pinning the right sides together and sewing a straight 1/4 inch seam. I then pressed the seams open to give them a flat appearance.
7. I then sewed the rows together by pinning the right sides together and sewing a straight 1/4 seam. Once again I pressed the seams open. As I sewed the rows together, I realized that each row should be the same length, and I added a few more blocks to some of the rows.
8. The next step was cutting out the round shape of the tablecloth. Here's where I asked Mike for some help. We located the center point of the fabric, and using a 27 inch string (the radius or half the finished size of 54 inches) with a Sharpie tied to the end of the string, Mike traced a circle around the sewn cloth.
 |
| Mike and Blue Belle working with string |
 |
| Pressing the 1/4 inch seam around the tablecloth |
10. I then sewed the 1/4 inch seam around the outside of the tablecloth.
 |
| Sewing 1/4 inch seam |
11. As final steps, I washed the tablecloth, and then cut off any loose threads on the underside of the tablecloth. I then pressed the tablecloth before using it.
And here is the finished product: a denim patchwork tablecloth.
Overall, I am very happy with the result of this little impromptu project. I love the colors and patchwork design. I like the heavy denim fabric and how it protects the glass table top.
Here are some things that surprised me about this project:
1. It took a very long time. I estimate that I spent about 25 hours on this project! WOW! Much longer than I expected!
2. Denim is a tough fabric to sew. I broke at least one sewing machine needle sewing this thick fabric!
3. The tablecloth isn't as flat as I expected. And when you set a glass on the tablecloth, you have to be careful to avoid the seam, or the glass may tip over.
4. Ideally you might want a backing on the tablecloth to avoid further fraying of the fabric. I thought about it, but I realize I was "done" with this project, and good enough was good enough!
5. My cat loves it!
I hope you are having a great week!
Diane


No comments:
Post a Comment